

Repainting a Queenslander presents unique challenges that differ greatly from repainting a conventional brick home. The timber walls of Queenslanders are susceptible to expansion and contraction due to fluctuating weather conditions, which leads to the accumulation of paint layers over many years. Homeowners in the Redlands and Bayside regions frequently ask a pivotal question before starting this project: what happens between the initial quote and the final paint application?
In this guide, you will discover a detailed, step-by-step breakdown covering every aspect, from the external weatherboards to the internal VJ walls.
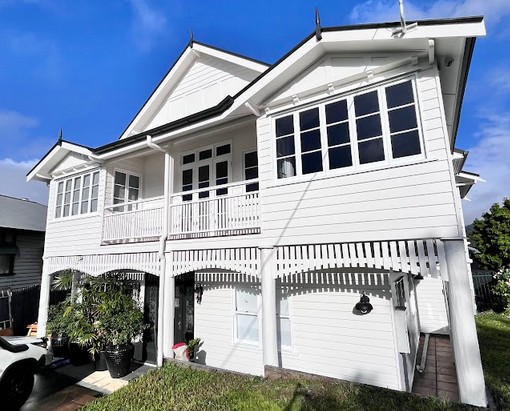
- The repainting process for a Queenslander focuses significantly on thorough preparation rather than just the painting itself.
- Before applying any primer, it is essential to strip back the existing paint on the weatherboards to uncover a solid, sanded surface.
- All bare or uneven timber must be primed before applying topcoats to achieve a long-lasting finish.
- Any rotted boards will be replaced by a qualified carpenter prior to the painting process, as our expertise is in painting rather than carpentry.
What Are the Essential Steps for Painting a Queenslander Successfully?
Painting a Queenslander involves a systematic approach divided into five critical stages: first, we evaluate the condition of the timber; second, we thoroughly clean all surfaces; third, we scrape and sand away any failing paint; fourth, we apply primer to any bare timber; and fifth, we apply the topcoats. The verandah, fretwork, and lattice are treated as distinct projects, each handled with precision to ensure meticulous attention to detail.
Following the correct order is vital. Each step outlined below must be executed carefully, as omitting any stage will compromise the quality and longevity of the finish on the timber.
What Indicators Signal Paint Deterioration on a Queenslander?
During our quotation inspections, we often spot the first signs of wear on the north and west weatherboards. Here, the paint typically appears chalky and tends to lift at the lower edges of each board, where it is most exposed to sunlight. If you run your hand over it, the paint film will come off easily.
Inside the property, the VJ boards present a different scenario. The paint usually remains intact but exhibits signs of wear, such as brush marks from previous painting efforts visible in the grooves. The tongue and groove joints often become filled with paint that has bridged and cracked over time.
The fascias, bargeboards, and verandah posts commonly display the most severe issues. These timber components retain moisture for extended periods and dry slowly, making them particularly vulnerable to deterioration.
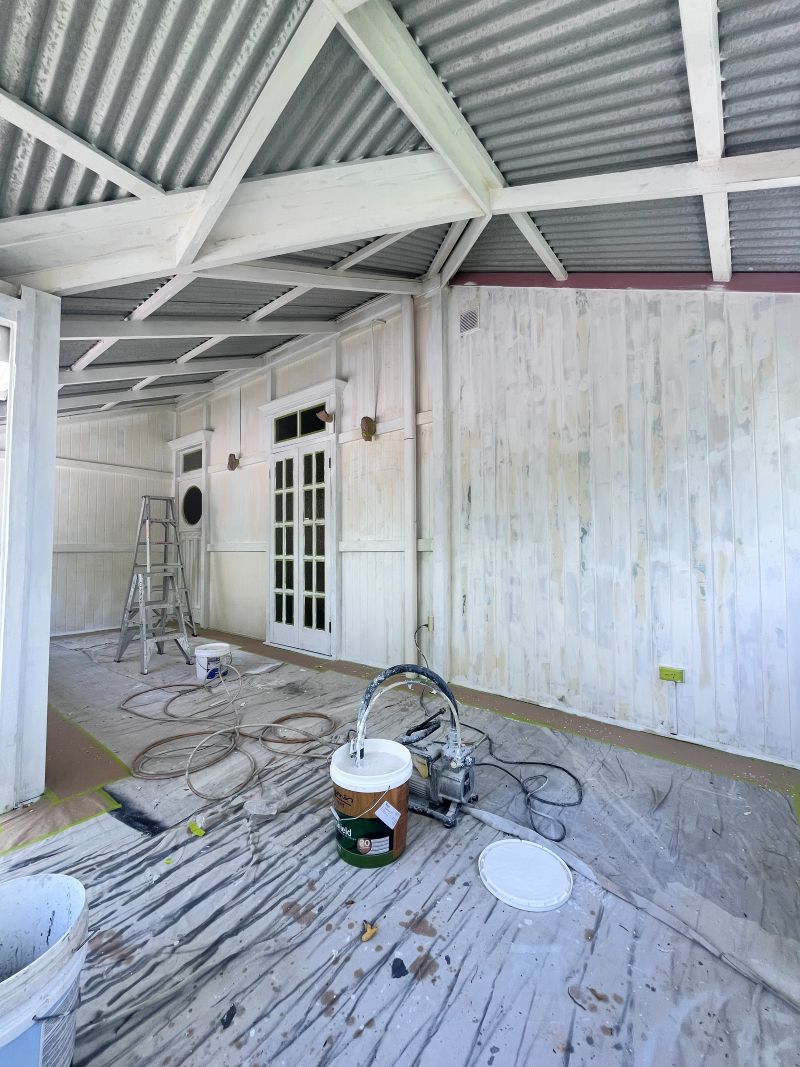
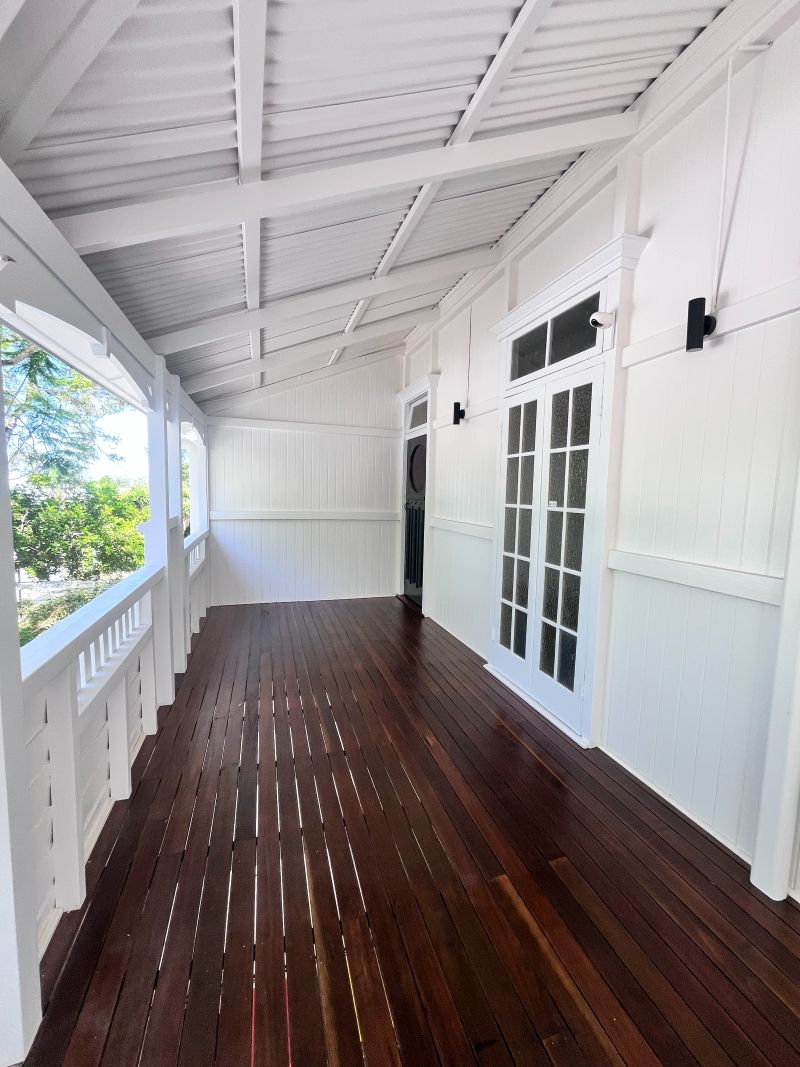
What Techniques Do We Employ for Preparing Weatherboards, Fascias, and Verandah Timber?
Our preparation process commences with a thorough wash of the house, followed by meticulous scraping of any peeling paint. We ensure that all loose paint is removed, and any rough edges are feathered back through sanding to create a smooth surface for the new paint layers.
If we identify a board that has deteriorated beyond effective scraping, we will notify you during the quoting process instead of waiting until the end. Any weatherboard that is rotted, a split fascia, or a verandah post that feels soft at the base must be replaced by a qualified carpenter before we can proceed with the painting. We will pinpoint which boards need attention, enabling you to address these repairs so that we can schedule the painting work accordingly.
Once the timber is in good condition and sanded, we seal any gaps at the ends of the boards and around the window frames, and we fill any nail holes.
What Should You Know About Lead Paint in Older Queenslanders?
Many older Queenslanders may still contain lead-based paint beneath newer layers. This necessitates avoiding the use of a power sander on original weatherboards without conducting a lead test first. We perform lead tests before any sanding, and if lead is detected, we adhere to safe removal protocols instead of sanding, which could release lead dust into the surrounding environment.
Lead paint removal is part of the services we provide, and if the house has never been stripped back, it is crucial to mention this during the quoting process. This information will influence our methods, containment measures, and the time required on-site.
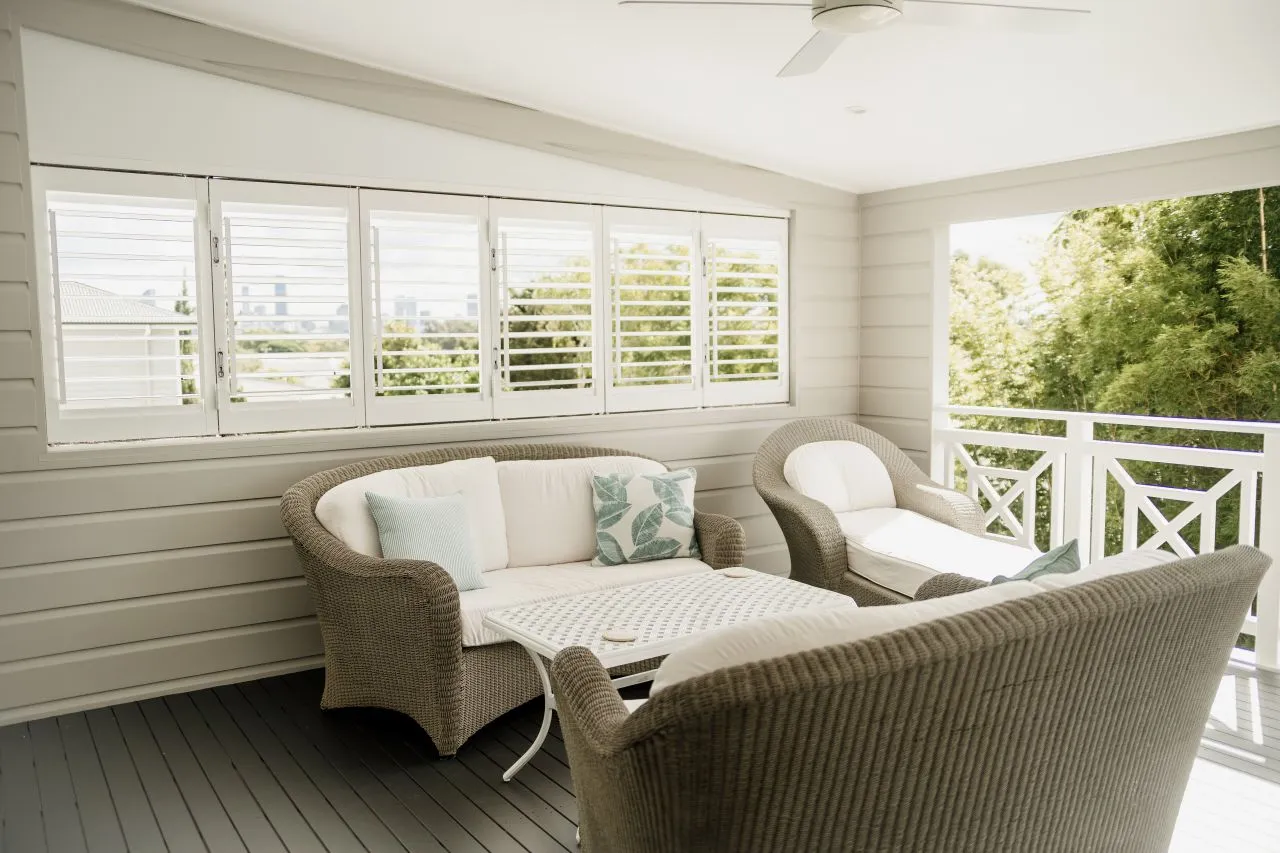
What Are the Best Practices for Painting VJ Walls and Ceilings in a Queenslander?
Painting VJ walls demands meticulous attention to detail, as anyone who has painted numerous grooves can attest. Each groove must be brushed first, followed by rolling the flat surfaces of the boards. Neglecting this step will result in grooves appearing as dark lines once the paint dries.
We sand the boards to eliminate gloss, fill any nail holes, and then proceed with precise cutting in and coating. Ceilings, picture rails, architraves, and door frames are all cut in by hand for the same reason: the edges and grooves significantly affect whether an interior space looks freshly painted or authentically restored.
How Do We Approach the Verandah, Fretwork, and Lattice Painting?
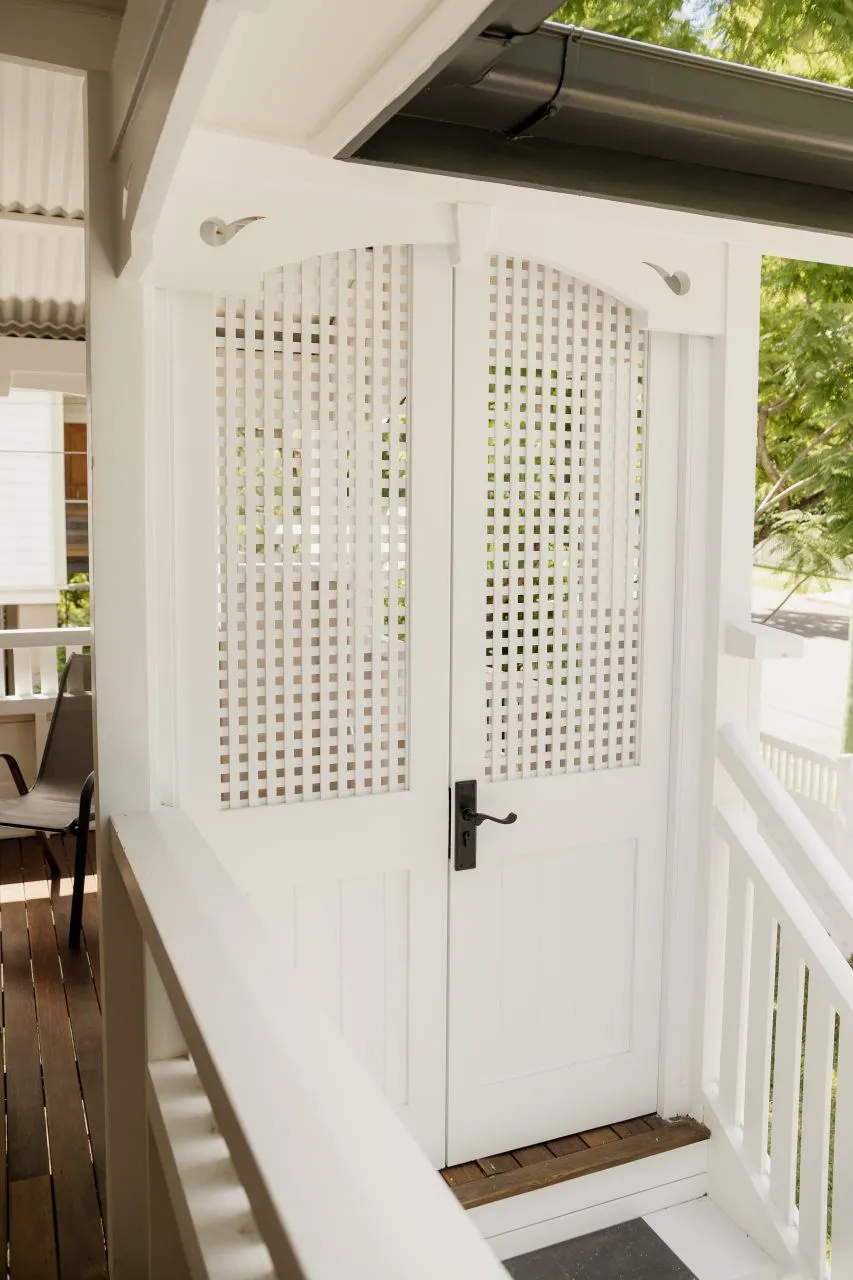
The verandah is often the most photographed feature of a Queenslander, showcasing intricate detailing. Fretwork, brackets, balustrades, lattice, and the underside of the verandah roof all require careful brushwork.
Lattice, in particular, requires careful handling. Spraying can fill the gaps and create runs on the reverse side, so we prefer to apply paint by brush and allocate ample time for the task. If your verandah timber is oiled or stained rather than painted, a different finishing approach is necessary, which is detailed on our timber and deck painting page.
Why Is Primer Essential and How Many Coats Are Needed for Repainting a Queenslander?
Every bare or patchy area receives a coat of primer before we apply topcoats. This step is crucial for ensuring proper adhesion of the finish to timber that has been scraped back. Without primer, new paint simply lies atop old, chalky layers.
For an exterior repaint, two topcoats are typically standard. Significant colour changes or timber that has been stripped back may require additional coats. We will inform you during the quoting process if the colour you have selected will require a third coat, allowing you to avoid any surprises later.
If you are still undecided on colours, our guide to the best whites and greys for Queensland light is an excellent resource to consult before purchasing sample pots. The Queensland sun can dramatically alter colours that may appear suitable on an indoor colour card.
What Transformation Can You Anticipate After Repainting a Queenslander?
Homeowners often first notice the crisp, clean lines following a repaint. Fresh paint applied to well-sanded weatherboards creates a sharp shadow line along every board, contrasting sharply with the previous broken, flaking edges. Fascias regain their straight appearance, and the fretwork stands out beautifully against the walls due to precise cutting in rather than careless rolling.
Inside, the VJ grooves transition from dark and blocked to smooth and even.
In the Queenslanders we have restored, the most noticeable differences often lie in the finer details rather than merely a change in colour.
What Factors Affect the Cost of Painting a Queenslander?
We provide tailored quotes for each property after a thorough inspection. The cost of painting a Queenslander is influenced by the condition of the timber rather than just the floor area. Key factors affecting pricing include the extent of failing paint that must be removed, the amount of bare timber requiring priming, the presence of lead paint, the quantity of fretwork, lattice, and verandah detailing, site access, height considerations, and any colour changes.
We do not provide quotes over the phone. Instead, we encourage you to request a written quote detailing all stages and inclusions. You can explore the full range of our Queenslander painting and restoration services available in the Redlands and Bayside regions.
It is important to note that we only accept a limited number of Queenslander restoration projects at any one time due to the meticulous nature of the preparation work involved. If you are considering a repaint for the warmer months, it is advisable to request a quote early.
What Common Questions Arise Regarding Painting a Queenslander?
How Long Does It Typically Take to Paint a Queenslander?
The timeframe depends on the amount of preparation required for the timber, the level of detail involved in the verandah and fretwork, as well as the prevailing weather conditions. We will provide you with an estimated timeline in the written quote after assessing the property, and we will inform you if rain affects the schedule.
Do You Replace Rotted Weatherboards Before Painting?
No, we do not perform repairs. We identify and note which boards require replacement during the quoting process, and a carpenter will manage the replacements. We will then proceed with painting once the timber is in good condition.
Can You Replicate the Original Colour Scheme of a Queenslander?
Yes, we can recreate a period-appropriate colour scheme featuring contrasting trims and highlights, or work with a colour of your choice. Please provide us with a photo or sample, and we will use it as a reference.
Will I Need to Vacate My Home During the Painting Process?
Not for exterior work. For interior VJ walls and ceilings, we work room by room, allowing you to remain in your home. We will discuss which rooms will be unavailable on specific days before we commence work.
How to Request a Quote for Your Queenslander Repaint
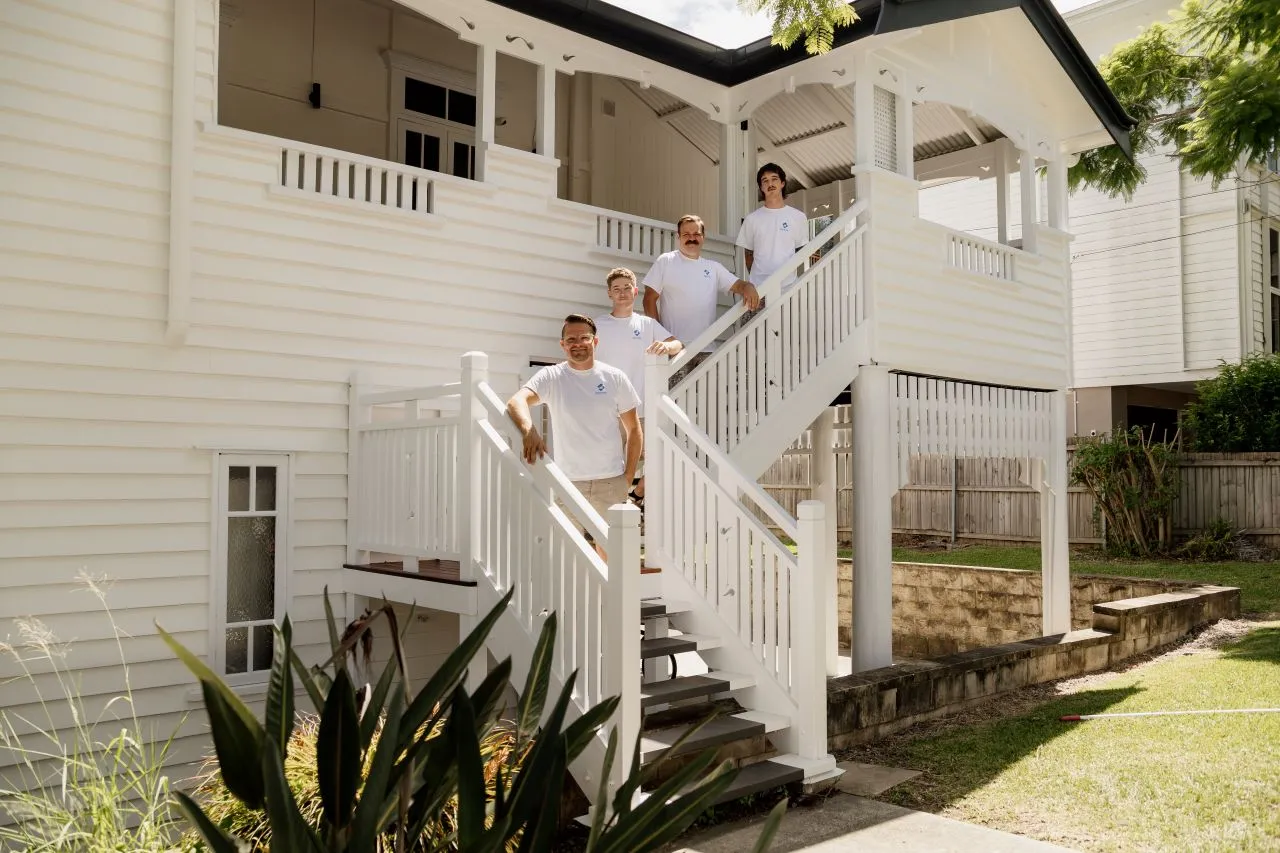
Barton’s Painting and Decorating has been repainting and restoring Queenslanders across the Redlands and Bayside since 2015. Our team comprises in-house professionals rather than subcontractors. We are licensed with the QBCC (licence 15315253) and fully insured.
If you have a Queenslander in mind for a repaint, please call 0434 575 623 or send us your details through the contact page. James or a member of our team will visit to inspect the timber. Photos of the most damaged areas are particularly beneficial.
Original Article First Published At: Painting a Queenslander: before and after, and what is involved
The Article: Painting a Queenslander: What’s Involved and the Transformation first appeared on https://writebuff.com
The post Painting a Queenslander: The Transformation Process Explained appeared first on Limits Of Strategy.
References:
Painting a Queenslander: The Transformation Process Explained
Queenslander Painting: Understanding the Transformation Process